Table of Contents
Settings

Import Drive
The Import Drive setting tells the program where to look to find files that are sent to you such as Transfer listings and Exonerations.
- Tax Year Folder
- C
Export Drive
The Export Drive determines where the program creates the files that you send to other offices such as the Disbursement, Change and Tax Claim reports. The Tax Year Folder exists in the TaxCollection folder. Otherwise, it uses the root of whatever drive you designate. The Tax Year Folder is the most convenient if you are sending and receiving files by email. The program cannot write files directly to a CD or DVD so do not set your Export Drive to one of those types.
- Tax Year Folder
- C
Backup Location
Backup Location provides the default backup location when you click on Backup Data from the Utilities Menu.
Refund Level
The Refund Level determines how large an overage is required before the item appears on the refund report.
Fast Entry
FastEntry is set off by default. If you check this box, when you enter payments the program will skip the check number and paid by fields. If in doubt, leave this box unchecked.
Default Tax Type
- Municipal
- School
Shading
Shading provides shading on some of the reports that makes them easier to read. If you do not want the shading on your reports, then uncheck this box.
Copy Previous Payer Name on Multi-Bill Checks
This is a feature that saves typing when entering a check that pays for multiple bills. This feature was introduced in 2018 and is turned on by default. Uncheck this box to return to the pre-2018 behavior when posting such payments. Refer to the section, “Recording Payments – Receipt Form,” for more information.
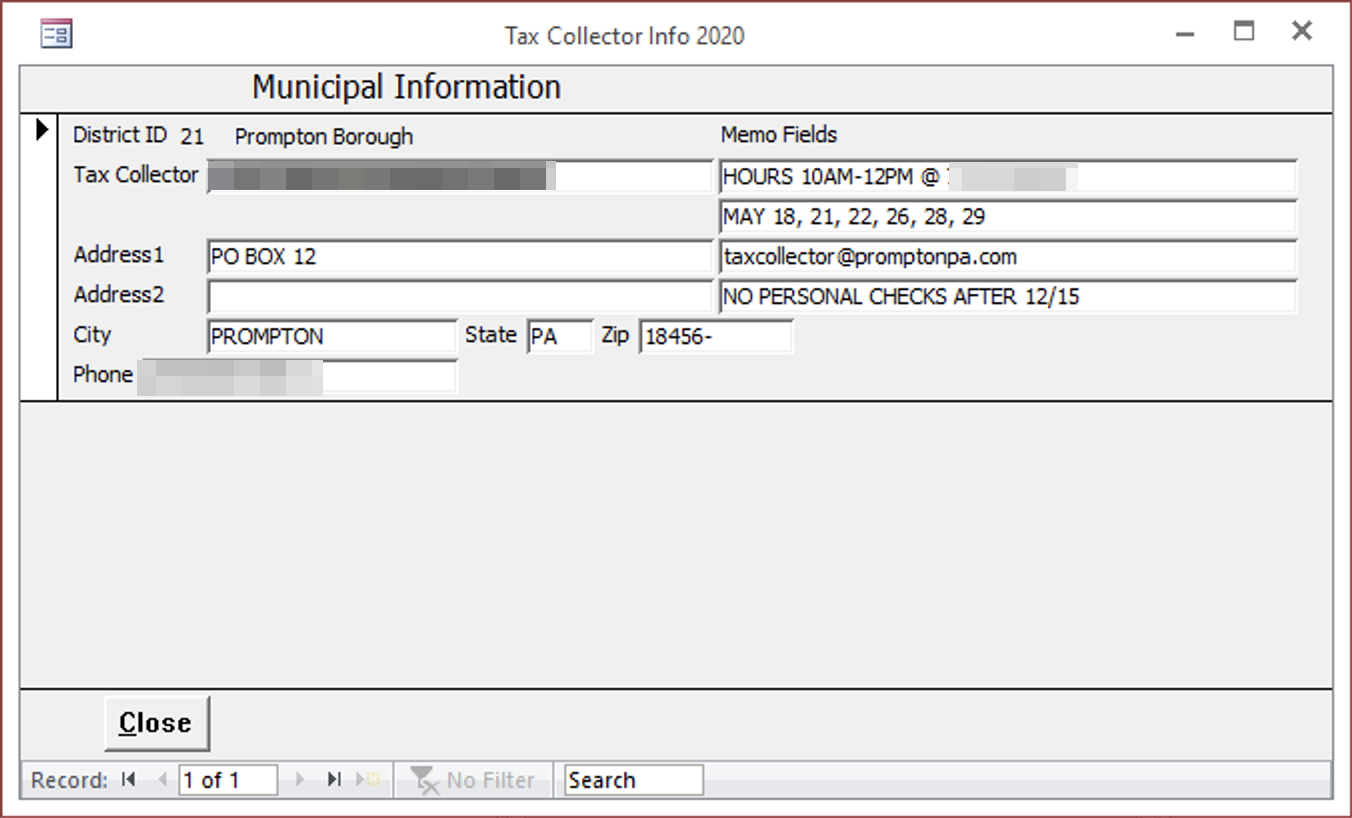
Tax Coll Info
Opens a form that will allow you to change the Tax Collector information that prints on the bills. Tax Collectors with two districts have two records to update. The program keeps separate information for the municipal and school bills.
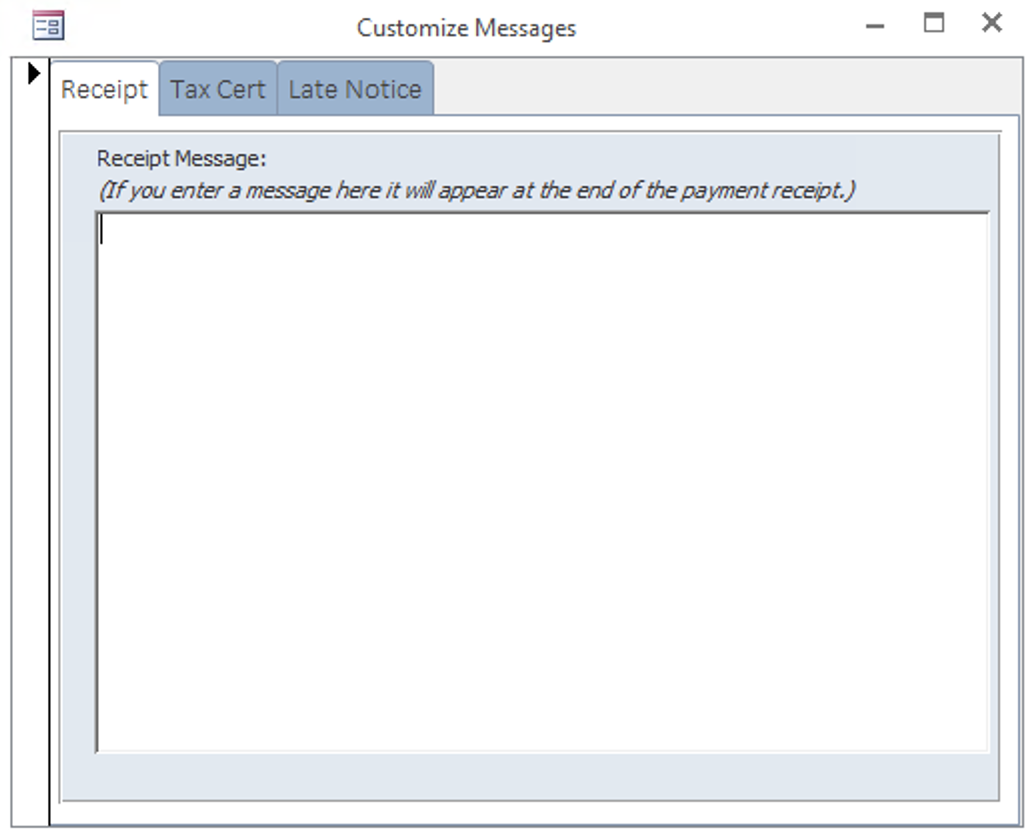
Customize Messages
Opens a form where you can enter optional text that will appear on certain forms and reports.
- Receipt tab: (optional) This text will appear centered at the end of the tax receipt. Non- installment receipts fit on one half of a page so if you add any additional text the length of the receipt will probably exceed one half of a page.
- Tax Cert tab: Enter information to appear on the tax certifications. The fields are laid out as they appear on the report. The “Notes” and header fields are optional; the payable to and cert fee fields should be completed.
- Late Notice tab: (optional) This text will appear on the late notice below the state-required language.
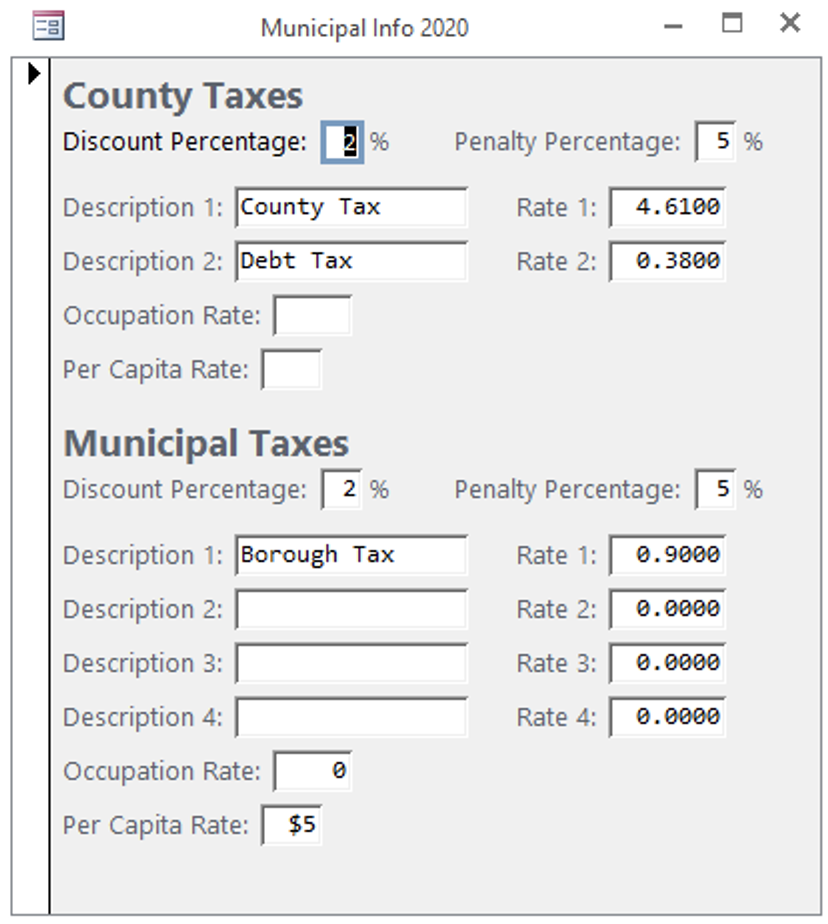
Municipal Info
Opens a form where you can change the township or borough information that prints on new bills that you create in the system. Typically, you should not change any of this information unless instructed to; it is there in case there is a problem with the bill file.
Updating the Discount and Penalty percentages affects all existing bills and payments. Updating the other fields *does not* change the tax description or rates on existing bills; it only changes the default for newly created bills.
School Info. Opens a form where you can change the school information that prints on the bills. Typically, you should not change any of this information unless instructed to; it is there in case there is a problem with the bill file. Tax Collectors with two school districts have two records to update.
School Info
Opens a form where you can change the school information that prints on the bills. Typically, you should not change any of this information unless instructed to; it is there in case there is a problem with the bill file. Tax Collectors with two school districts have two records to update.
Updating the Discount and Penalty percentages affects all existing bills and payments. Changing the Installment Dates, Delinquent Date, and “Accept First at Penalty” checkbox also has an immediate effect on existing bills. Updating the other fields *does not* change the tax description or rates on existing bills; it only changes the default for newly created bills.
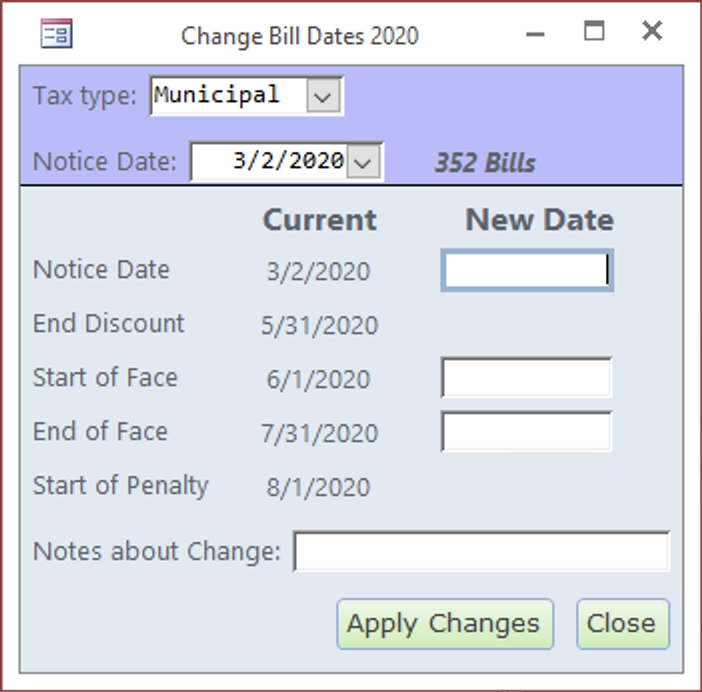
Change Bill Dates
Opens a form where you can change the bill dates for many bills at the same time.
Choose the Tax Type, either Municipal for spring bills or School for the school bills. The Notice Date dropdown contains a list of all the bills grouped by their Notice Date and Start/End of Face dates. When you click the drop down, you will see four columns: 1) Notice Date, 2) Start of Face, 3) End of Face, and 4) number of bills with those dates.
It is important to realize that you may be changing the dates for many bills at one time.
Enter at least one new date for Notice Date, Start of Face, or End of Face. The End of Discount and Start of Penalty dates are automatically calculated based on what you enter for Start and End of Face.
Finally, enter a Note about the Change then click [Apply Changes]. The program will confirm you really want to make the changes. If you click [OK], the bills will be updated with the new dates. The program will also add a history record to every bill showing what the previous dates were prior to the change.