Table of Contents
Adding a Rebate
Refer to Case 9595
Opening "Add Rebate" Form
To add a rebate, you must first open the "Add Rebate" form.
- Navigate to the bottom-left corner of the "Rebate Search Results" lookup form.
- Click on the grey "Add Rebate" button.
- The "Add Rebate" form will appear
A Look at the "Add Rebate" Form
Let's take a look at the "Add Rebate" form and all of its fields.
The Red Section:
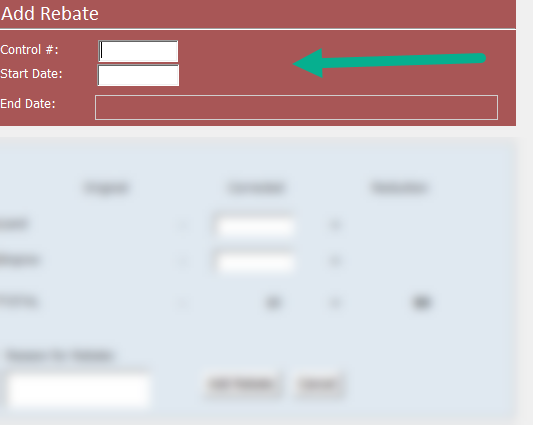
The "red section" or top section of the form contains the following:
- A field to input the property owner's control number
- The start date (effective date) of the rebate
- An uneditable end date that is calculated based on the next assessment, next tax period, or if the parcel has been eliminated/merged.
The Blue Section:
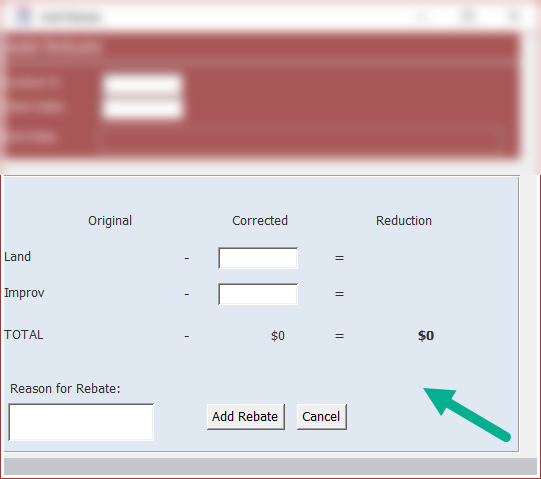
The "blue section" or lower section of the form contains the following:
- A matrix that stores the Original, Corrected, and Reduction amounts of the assessment that a rebate is being created on.
- Within the matrix, two corrected value fields: one for corrected land value and one for corrected improvement value.
- A field to input the reason for the rebate.
- An "Add Rebate" button (cannot add the rebate until all fields on the form are filled).
- A "Cancel" button (closes the form).
Entering Owner Information
- Enter a Control Number into the "Control #" field.
- Enter a Start Date into the "Start Date" field. For this demonstration, let's imagine a rebate needed to take effect starting at the beginning of the 2015 municipal tax billing year.
- Press Enter and the current assessment information will load into the form.
Original Assessment Information
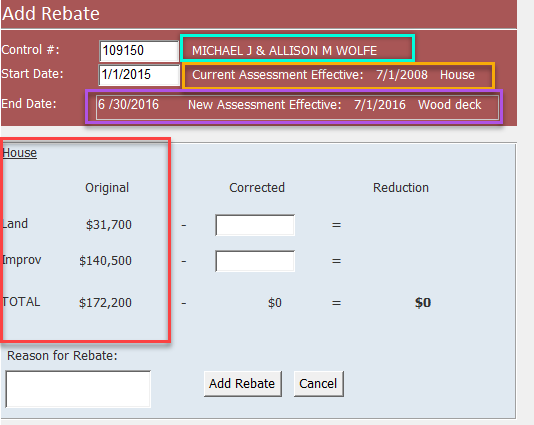
In the Cyan Box: The property owner(s)' full name.
In the Yellow Box: The date and reason of the current assessment the rebate is taking effect on (in this case, the property owner's house whose assessment took effect on 7/1/2008).
In the Purple Box: The current assessment's end date and the reason for the particular end date (In this case, the end date for the current assessment is 6/30/2016 because the software found a new assessment effective as of 7/1/2016 for the addition of a wood deck).
In the Red Box: The original land and improvement assessment values and their total sum.
Entering Corrected Values
Imagine a large, dead tree fell during a heavy snowstorm and landed on the property owner's house. The house suffered severe damages and needs to be re-roofed.
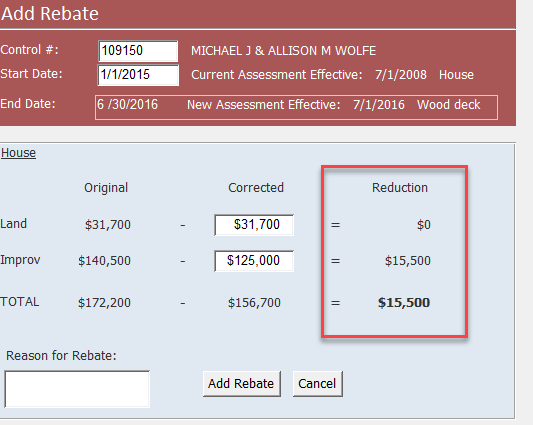
Upon reevaluation of the property, its improvement value has been reassessed to $125,000.
- The land assessment has not changed, so we can enter the same value as the original value into the "Corrected Land" field.
- The improvement assessment has changed, so we can enter the new, corrected value of $125,000 into the "Corrected Improvement" field
- Notice how the running "Reduction" total is displayed in bold as this is the amount the rebate will be calculated on.
Entering Reason for Rebate and Adding the Rebate
At the bottom-left corner of the blue matrix, we can add our reason for the rebate in the field (E.g., "tree collapsed roof, storm damage.").
Before clicking "Add Rebate," let's ensure we filled in all the information we need:
- The Control Number
- The Rebate Start Date
- The Corrected Land Value
- The Corrected Improvement Value
- The Reason for Rebate
If you have filled all the required fields you can click the grey "Add Rebate" button.
Note: This will cause the "Edit Rebate" form to open.
Data You Cannot Enter
You cannot enter the following data into the "Add Rebate" form:
- A rebate start date that exists more than seven years ago
- A rebate start date that exists before a recorded assessment
- A rebate start date that exists after a parcel has been eliminated or merged
- An unfinalized rebate that shares the same start date
- A future date
- Blank fields


